
I know I’ve said it before but…
Santa brought me a Silhouette Cameo for Christmas!
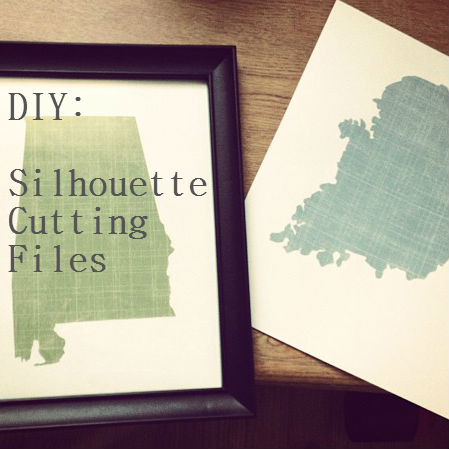
Super awesome. Except I had NO freakin idea what to do with it. Lots of plans…zero knowledge. I knew I had to download the cutting files from the Silhouette website. I REALLY wanted to make a “Home is where the Army sends us” wall. Of course I couldn’t find any of the map shapes I wanted from Silhouette.
So between some Google and Pinterest I figured out how to do it myself!
BAM.

The first thing you need to do is find a good picture. I did a Google Image search to find a good map outline.
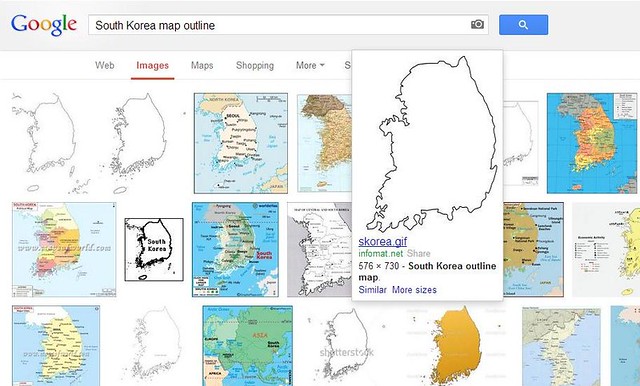
Once I had one that I thought would be easy to transfer I saved it to my computer and opened it up in the Silhouette Studio software.
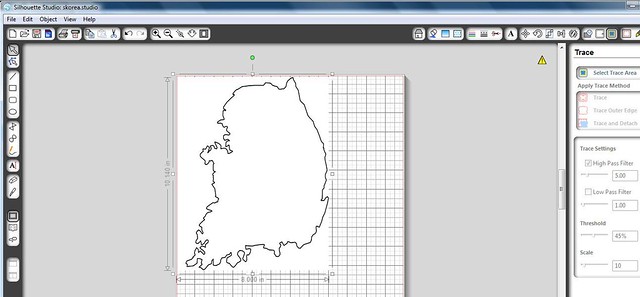
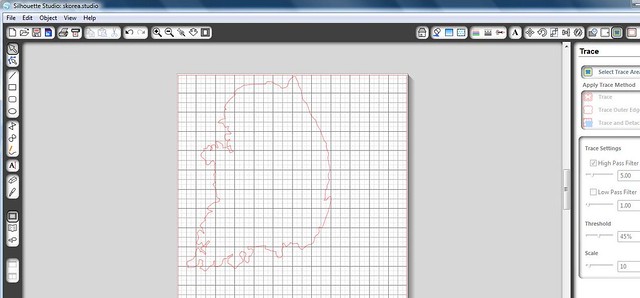
Now, to get just the outline you want to cut you need to click on the little blue Trace button on the top right of the page. Once you do, on the right side bar click “Select Trace Area”, then make your little box around what you want to cut out.
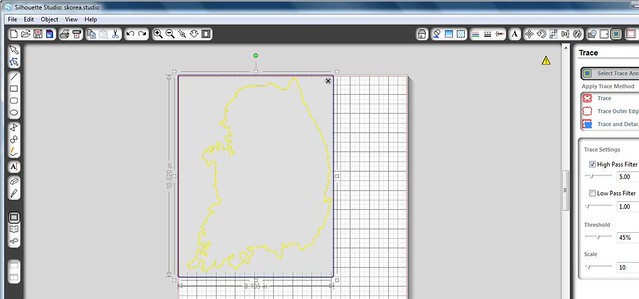
Your picture should be outlined in Yellow. Next, click on “Trace Outer Edge”. That should make your highlighted trace box go away. You can click on the picture to select it, drag it out of the way to make sure you have selected your original leaving a red outline in its place. Then just hit delete and get rid of that original picture.
Voila! There is your fancy new cut file. Now, click on File and Save to Library.
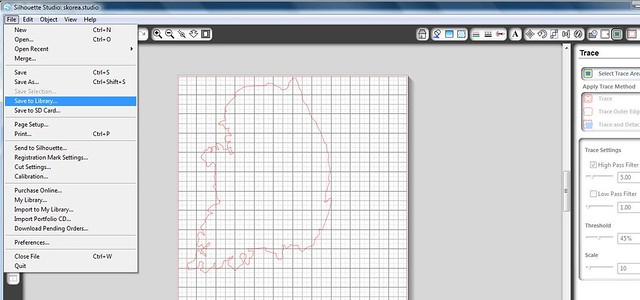
And that’s it! Before you close it will ask if you want to save. The picture is in your library but if you want to save the new .studio file to your computer then click yes.
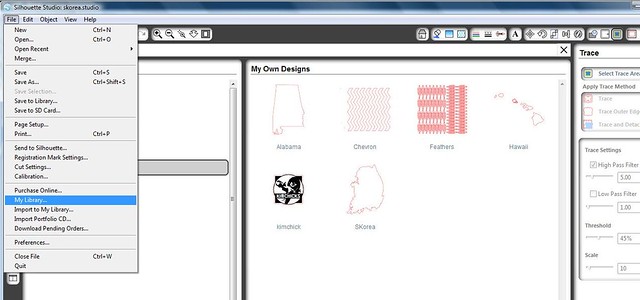
When you are ready to use your new file go to File, My Library, and My Own Designs. There it is! Ready to use!
That is so awesome Meg!! Can you do silhouettes of your kids faces?
I can if I can get a picture of them 😉